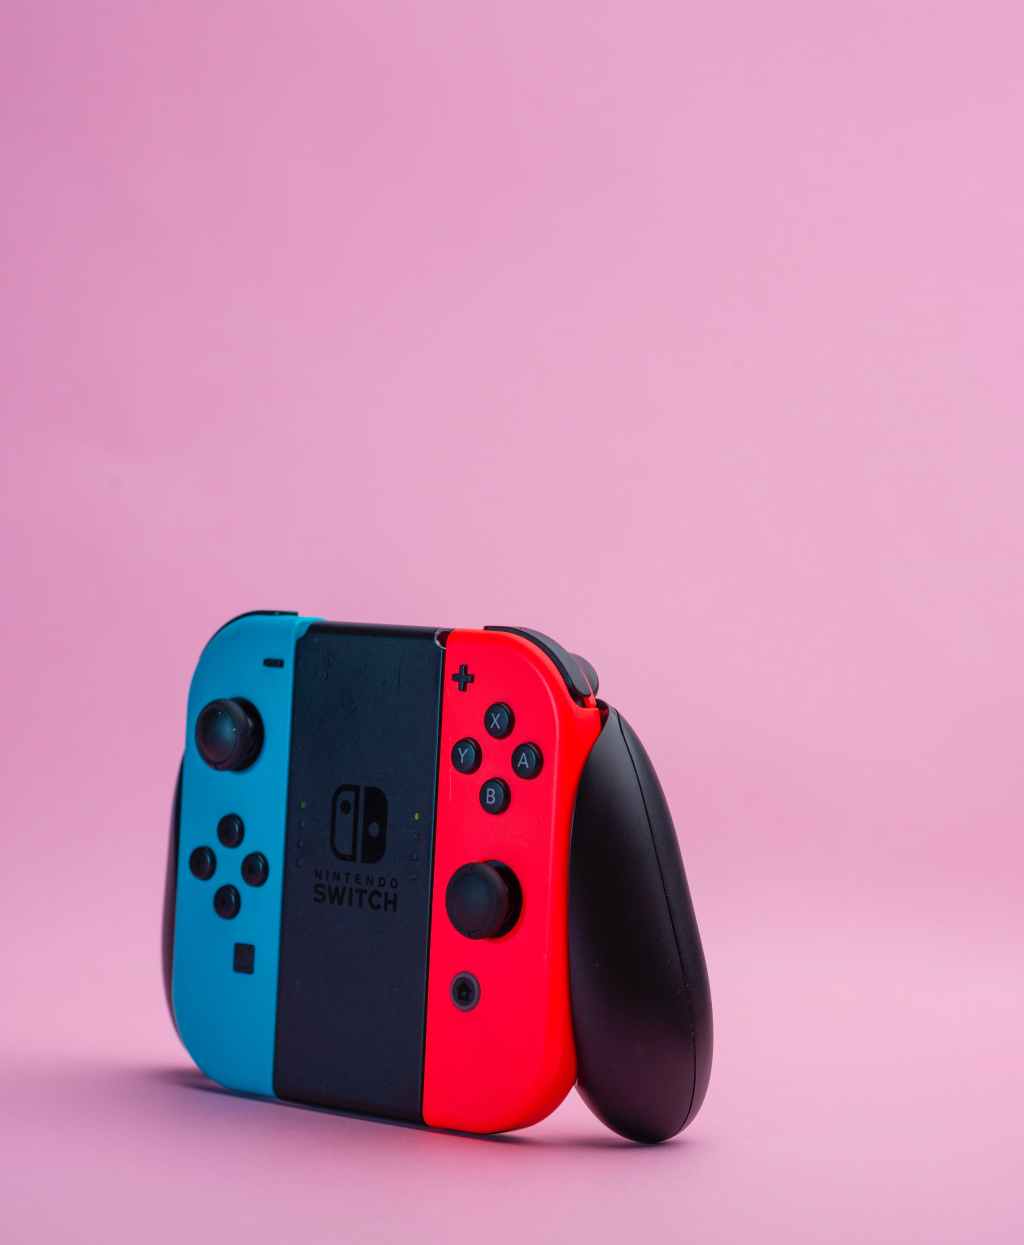
Joy-Con controllers are an essential part of the Nintendo Switch gaming experience. These small, detachable controllers are packed with features such as motion controls, HD Rumble, and an infrared camera.
However, like any electronic device, they are prone to wear and tear over time. In this article, we will explore how to repair and maintain Joy-Con controllers to keep them functioning properly.
One common issue with Joy-Con controllers is drift. This occurs when the joystick on the controller moves on its own, causing unwanted movement in-game. Another issue is connectivity problems, where the controller fails to connect to the Switch console or disconnects frequently during gameplay. These issues can be frustrating, but fortunately, there are solutions that can be done at home without the need for professional repair.
By following the steps outlined in this article, readers will learn how to troubleshoot and fix common Joy-Con issues. From cleaning the joystick to replacing the battery, readers will gain the knowledge and confidence to tackle these issues on their own. Whether you are a casual gamer or a hardcore enthusiast, maintaining your Joy-Con controllers is essential for a seamless gaming experience.
Understanding Joy-Con Drift
Joy-Con drift refers to an issue where the analog stick on a Joy-Con controller registers movement even when the stick is not being touched. This can cause the controller to behave erratically in games, making it difficult or impossible to play.
The cause of Joy-Con drift is not entirely clear, but it is believed to be related to wear and tear on the controller’s analog stick. Over time, the stick may become misaligned or damaged, causing it to register movement even when it is not being moved.
Unfortunately, Joy-Con drift is a common problem that affects many Switch owners. Nintendo has acknowledged the issue and offers free repairs for affected controllers, but the problem can still be frustrating for those who experience it.
If you are experiencing Joy-Con drift, there are a few things you can try to fix the issue. One option is to recalibrate the controller by going to the Switch’s System Settings and selecting Controllers and Sensors. From there, you can select Calibrate Control Sticks and follow the on-screen instructions.
Another option is to try cleaning the controller’s analog stick with a can of compressed air. This can help remove any debris or dust that may be causing the stick to stick or register movement.
If these solutions do not work, it may be necessary to send the controller in for repair or replacement.
Required Equipment for Repair
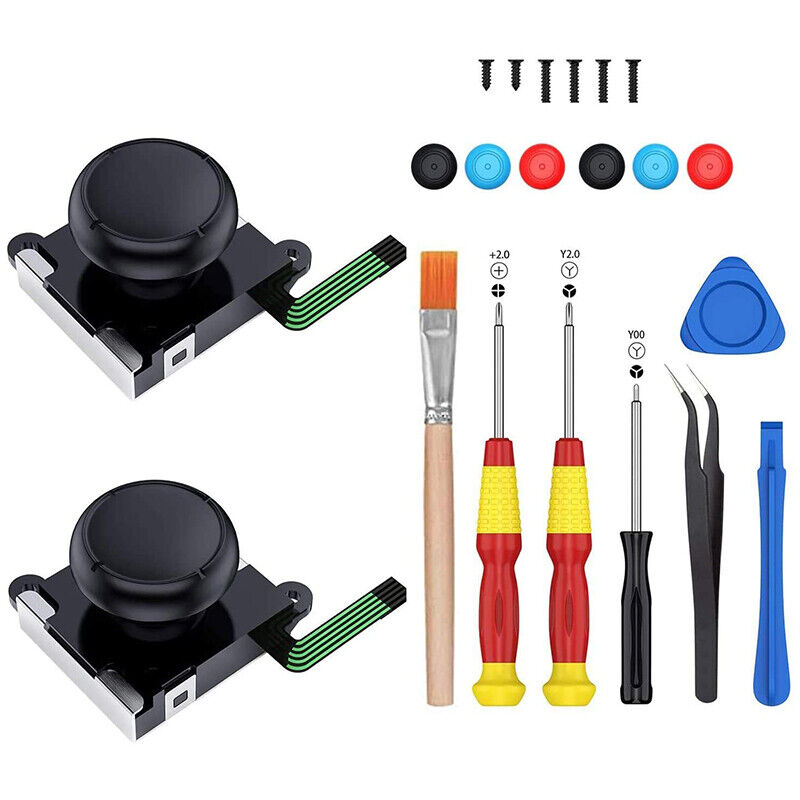
To repair and maintain Joy-Cons, one must have the necessary equipment. The following are the essential tools required for repairing Joy-Cons:
Screwdrivers
The first and foremost tool required for repairing Joy-Cons is a screwdriver. One needs a tri-wing screwdriver to open the Joy-Con casing. A Phillips-head screwdriver is also required to remove the screws from the Joy-Con’s battery compartment.
Spudger
A spudger is a handy tool that helps in prying open the Joy-Con casing. It is used to separate the Joy-Con’s front and back covers without damaging the delicate components inside.
Tweezers
Tweezers are used to hold and manipulate small parts. They are especially useful when repairing the Joy-Con’s joystick, as it requires precise handling of small components.
Soldering Iron
In some cases, repairing Joy-Cons may require soldering. A soldering iron is used to melt and join two metal parts together. It is required when replacing the Joy-Con’s charging port or other components.
Replacement Parts
Lastly, one must have replacement parts on hand. Replacement parts may include a new joystick, charging port, or battery. It is essential to purchase high-quality replacement parts to ensure the Joy-Con’s longevity.
In conclusion, repairing and maintaining Joy-Cons requires the necessary equipment. Having the right tools on hand can make the process easier and more efficient.
Step-by-Step Joy-Con Repair
Repairing a Joy-Con can be a daunting task, but with the right tools and guidance, it can be done easily. Here are the steps to repair a Joy-Con:
Opening the Joy-Con
To open the Joy-Con, you will need a tri-wing screwdriver and a small Phillips head screwdriver. First, remove the four tri-wing screws located on the back of the Joy-Con. Then, gently pry open the Joy-Con using a plastic opening tool. Be careful not to damage the ribbon cables inside.
Replacing the Analog Stick
To replace the analog stick, first, remove the two Phillips head screws that hold it in place. Then, carefully lift the analog stick out of the Joy-Con. Insert the new analog stick and screw it back in place. Be sure to reconnect the ribbon cable that connects the analog stick to the Joy-Con.
Reassembling the Joy-Con
To reassemble the Joy-Con, first, reconnect the ribbon cables that were disconnected. Then, carefully snap the two halves of the Joy-Con back together. Finally, replace the four tri-wing screws on the back of the Joy-Con.
With these simple steps, you can repair a Joy-Con and get back to enjoying your favorite games.
Maintaining Your Joy-Con
Joy-Con controllers are built to last, but they still require some maintenance to stay in good condition. Here are some tips to help you maintain your Joy-Con:
Cleaning the Buttons
Over time, the buttons on your Joy-Con may become dirty or sticky. To clean them, you can use a soft, dry cloth or a cotton swab dipped in rubbing alcohol. Gently wipe the buttons and the surrounding areas, being careful not to get any liquid inside the controller. You can also use compressed air to blow away any dust or debris that may have accumulated.
Preventing Drift
One of the most common issues with Joy-Con controllers is drifting, which occurs when the joystick moves on its own without any input from the user. To prevent drift, it’s important to keep your Joy-Con clean and free of debris. You can also try recalibrating the controller by going to the System Settings on your Switch and selecting “Controllers and Sensors” > “Calibrate Control Sticks.” If these steps don’t work, you may need to contact Nintendo for repairs.
By following these tips, you can help ensure that your Joy-Con controllers stay in good condition for years to come.
What to Do if Your Joy-Con Breaks
If your Joy-Con breaks, don’t panic. There are several things you can do to try and fix the problem.
First, try resetting the Joy-Con by detaching it from the console and reattaching it. If that doesn’t work, try charging the Joy-Con fully to see if that resolves the issue.
If the Joy-Con still isn’t working, you can try recalibrating it. Go to the System Settings on the Nintendo Switch and select Controllers and Sensors. From there, select Calibrate Control Sticks and follow the on-screen instructions.
If none of these steps work, you may need to send the Joy-Con in for repair or replacement. Contact Nintendo customer support for assistance.
It’s important to note that attempting to repair the Joy-Con yourself may void the warranty and could potentially cause further damage. It’s best to let a professional handle any major repairs.
Remember to always handle your Joy-Con with care to avoid any unnecessary damage.
Conclusion

In conclusion, maintaining and repairing Joy-Cons is essential to ensure a smooth and enjoyable gaming experience on the Nintendo Switch. The drift issue can be frustrating, but there are several ways to fix it, including cleaning the joystick or replacing it altogether. Nintendo offers free repairs for Joy-Con drift within the warranty period, but if the warranty has expired, it may be more cost-effective to fix the Joy-Con yourself or seek third-party repairs.
Regular maintenance, such as wiping down the Joy-Con and keeping it away from dust and debris, can prevent issues from arising in the first place. It is also important to update the firmware of the Nintendo Switch and Joy-Cons regularly to ensure compatibility and performance.
Overall, repairing and maintaining Joy-Cons is a straightforward process that can be done by anyone with the right tools and knowledge. By following the tips and techniques outlined in this article, gamers can ensure that their Joy-Cons are always in top condition and ready for hours of gaming fun.
